The useful thing about a DR exercise in Talarity is that building one and starting one are separate acts. A draft creates no accounts, sends no email, and generates no tasks. You can scope the whole estate, name every tester, get it reviewed internally, and leave it sitting in Planning until the week you actually want people testing.
This guide is the administrator’s path. For the whole loop see running a DR exercise; for what your testers and reviewers experience, the tester’s guide and the reviewer’s guide.
Step 1 — Create the exercise
Business Continuity & DR → DR Exercises → + New Exercise. Name it for the year, describe what it covers, and set a window.
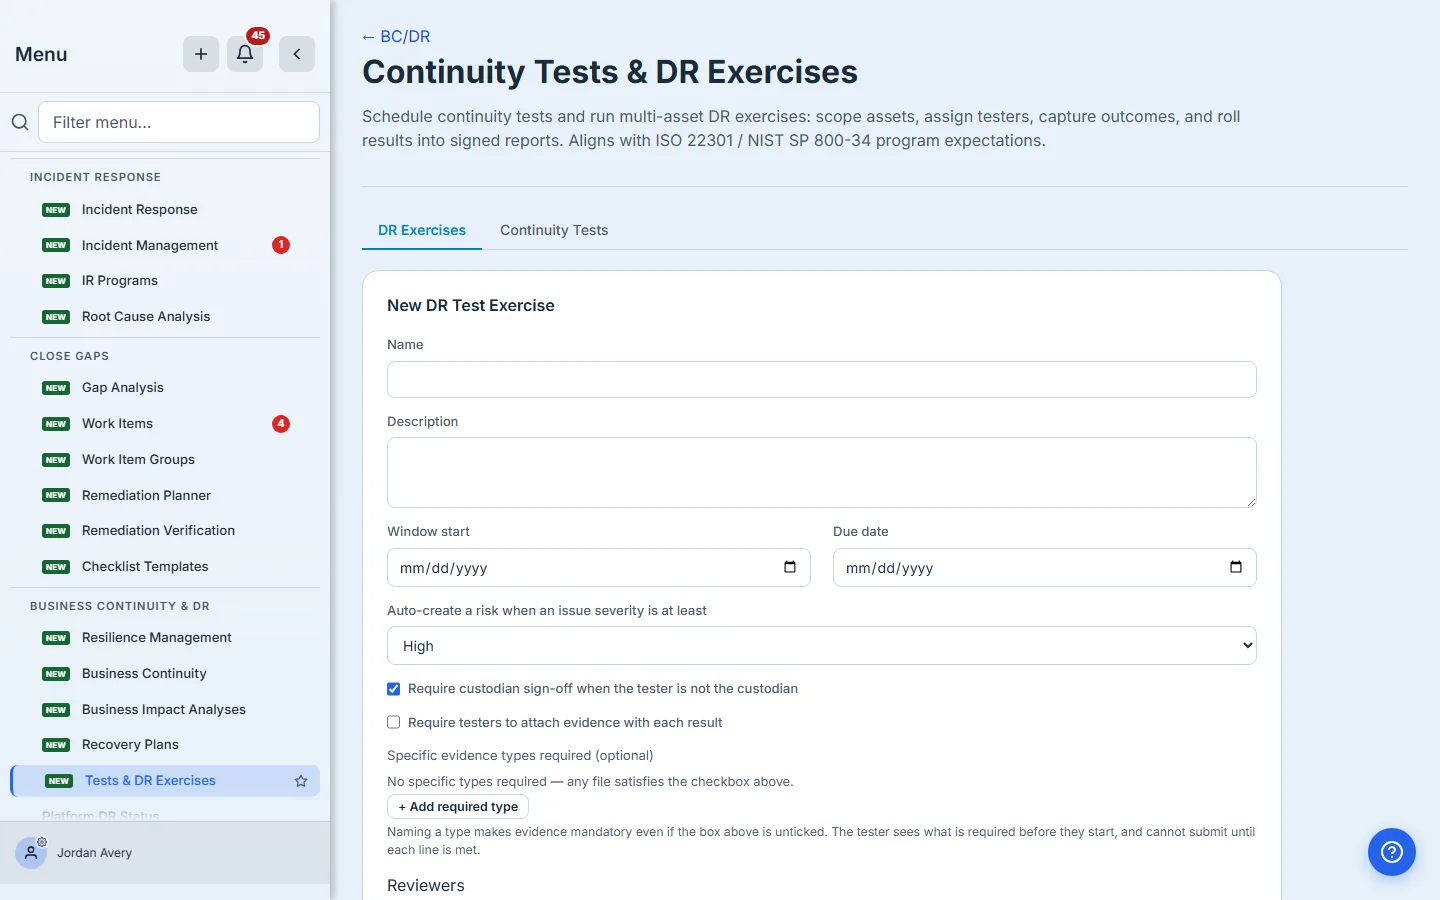
Four settings on this form change what the exercise does, not just how it reads:
Auto-create risk threshold
How severe a recorded issue must be before a failure opens a scored risk in your register, on top of the remediation item every failure opens regardless. Set it to High and a Low-severity hiccup still gets tracked work, but doesn’t land in the risk register.
Two things to know:
- Impact scales with the subject. The same severity on a Critical asset produces a higher-impact risk than on a Medium one, so you don’t need a different threshold per tier.
- A blank severity clears no threshold at all. Severity is optional for the tester, and a blank one opens no risk at any setting, including Low. If you need severity, ask for it in the instructions.
Require custodian sign-off
When the tester isn’t the asset’s custodian, the result waits for the custodian to approve it before it counts as done. Worth knowing exactly where this applies:
- It applies to asset subjects whose custodian has a Talarity login.
- It does not apply to vendor subjects, or to assets whose custodian is a roster record with no login — those results simply complete.
- The custodian approves in the approvals queue (
/app/tasks?tab=approvals), not on the exercise board.
Require evidence
Off, and the tester can attach a file but doesn’t have to. On, and they cannot submit without one — enforced on every path a result can arrive by, not just the in-app form.
This one is locked once you launch. The rule is baked into each tester’s checklist at launch, so changing it afterwards would mean some people answered a different question than others. Decide before you start.
Requiring specific kinds of evidence
The checkbox alone only says attach something. For a backup recovery test that isn’t the question you’re asking: the restore job log and proof the restored data actually opened are different artifacts, and a screenshot on its own doesn’t tell an auditor recovery was exercised.
Under the checkbox you can name the document types the test needs and how many of each — 1 × Restore Job Log and 1 × DR Test Evidence, say. The list is your organisation’s own artifact-repository types, so if you’ve added a custom one it’s selectable here without a code change.
Three things follow from naming a type:
- Evidence becomes mandatory whether or not the checkbox above is ticked. A requirement that could be skipped isn’t one.
- The tester is told up front. The requirement appears in their assignment email, in the task instructions, and as a live checklist on the upload panel that ticks off as they attach — not as an error the first time they try to submit.
- The wrong type doesn’t count. Two screenshots don’t satisfy a requirement for a restore log; the submission is refused and names the shortfall (“restore-log (0 of 1)”).
Talarity ships three continuity types for this — DR Test Evidence, Restore Job Log and Configuration Export — alongside the usual audit reports and certifications. Like the checkbox, requirements are locked once you launch, and a clone carries them into next year’s run.
Reviewers
Pick the people who must sign the exercise off after testing closes. With reviewers named, closing moves the exercise to In Review and it completes only when the last one approves. With none, closing completes it immediately — a legitimate choice, just make it deliberately.
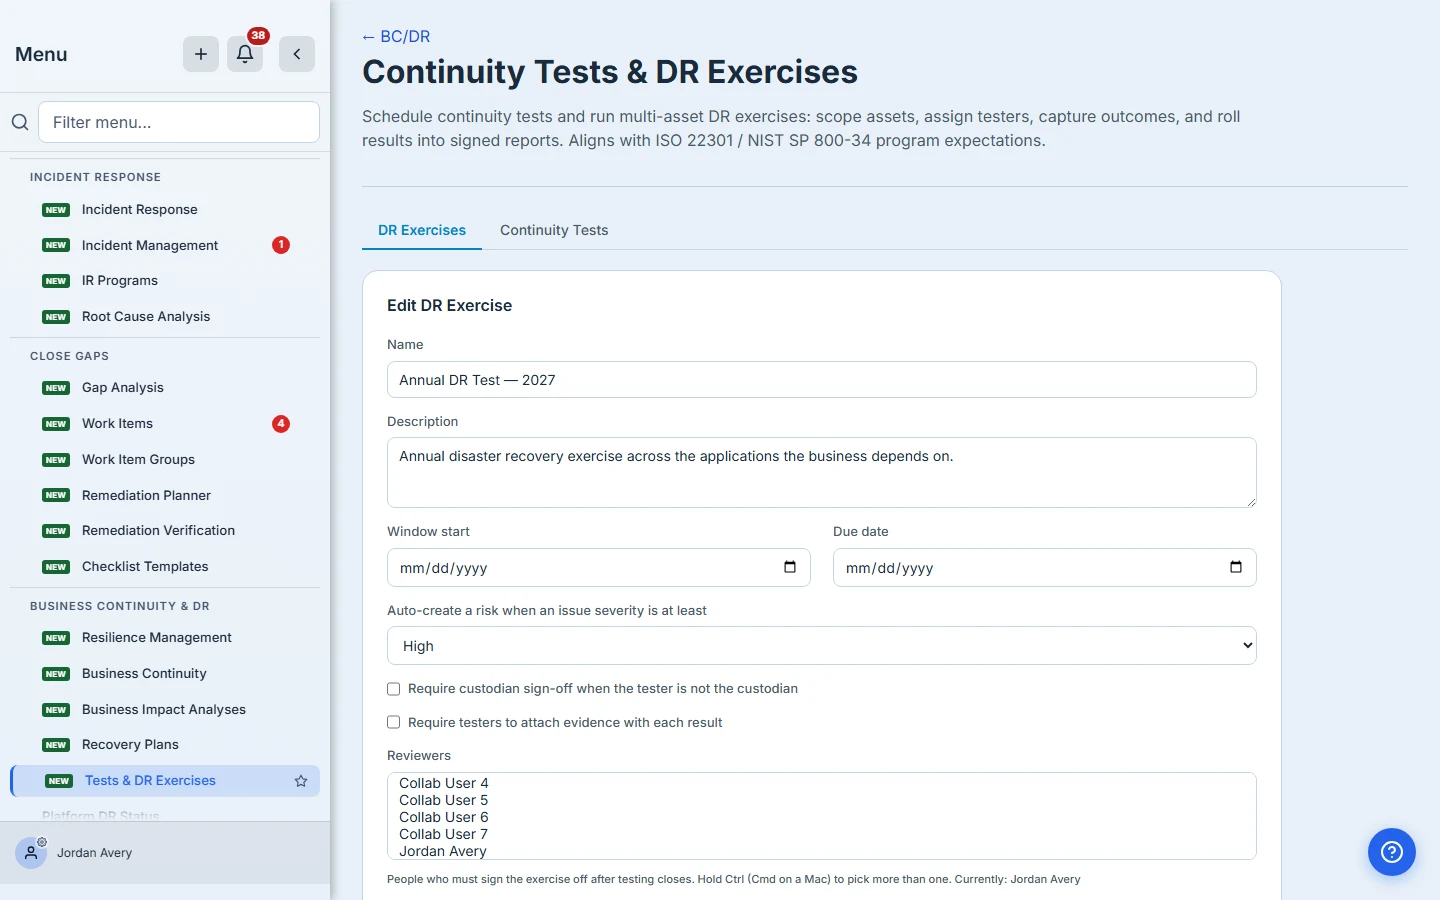
You can also nominate the control-library controls this exercise evidences. The ids are checked against the library when you save, so a typo fails loudly rather than silently linking nothing.
Step 2 — Scope what gets tested
Create & Scope writes the exercise and drops you into the builder. (It’s a commit, not a preview — back out and you’ll find a draft waiting in the list.)
Scope four ways, and they combine:
- Vendors — search by name. The list is search-driven rather than a wall of every vendor you have, so it behaves the same whether you manage eight or eight thousand; when more match than are shown, it says so rather than quietly truncating.
- Criticality — the usual starting point. There’s a separate opt-in for unrated assets, kept deliberately separate so “everything critical” never quietly means “everything we happened to rate”.
- Location — a site, datacenter, region or cloud, with asset counts so you can see what you’re selecting.
- Vendor — for third-party recovery.
- By name — search and tick individual applications when the exercise is a specific list rather than a tier.
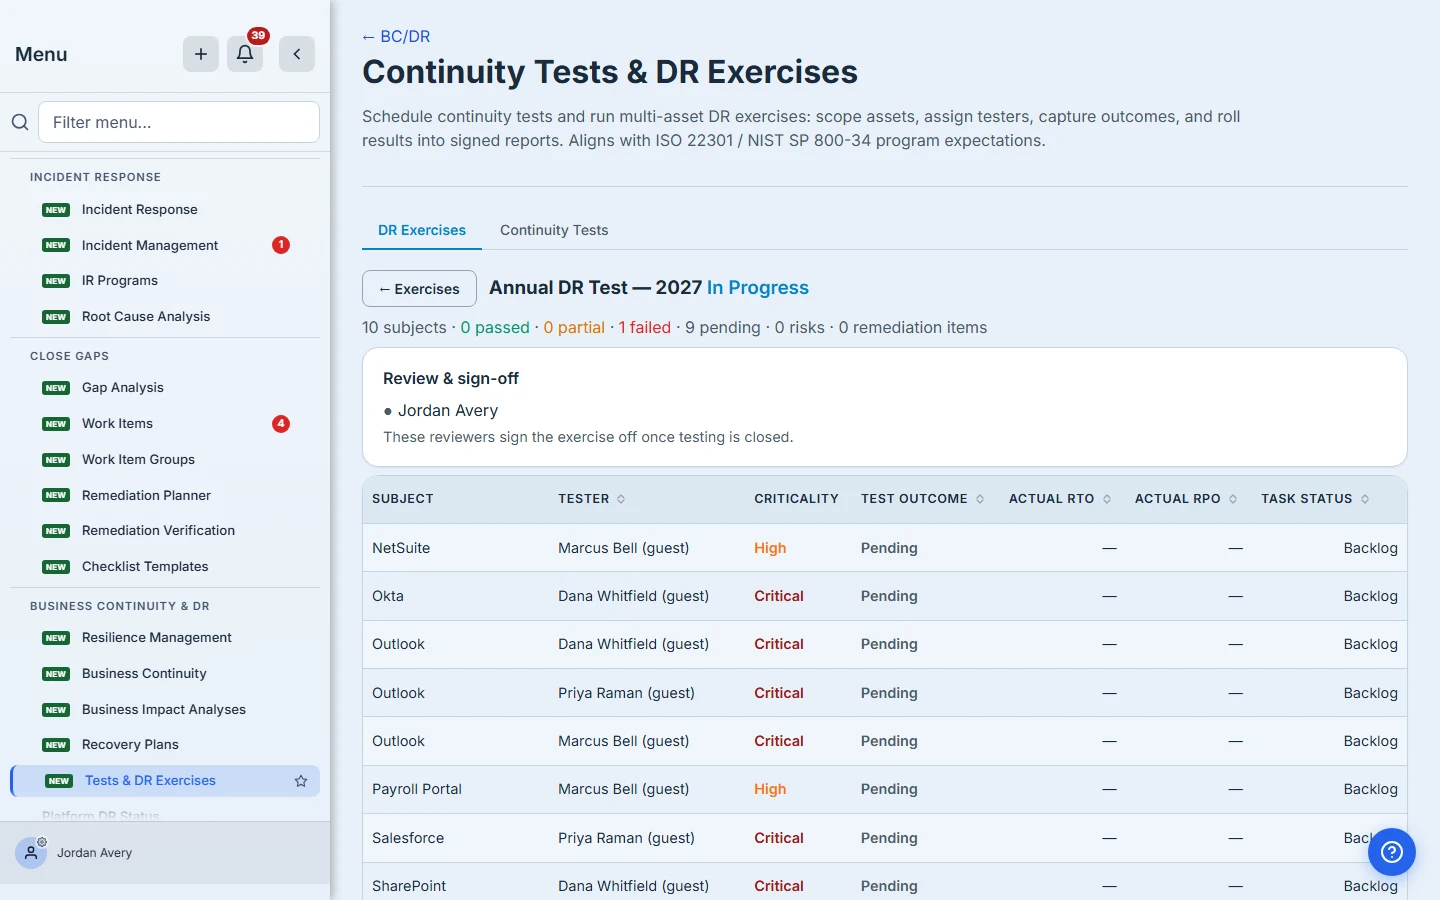
Then press Resolve scope. Nothing exists until you do — the assignment grid is built from the resolved set, not from the checkboxes.
Step 3 — Assign testers
One row per in-scope subject, each taking one or more testers. Untick Include to drop a subject without changing the scope rules.
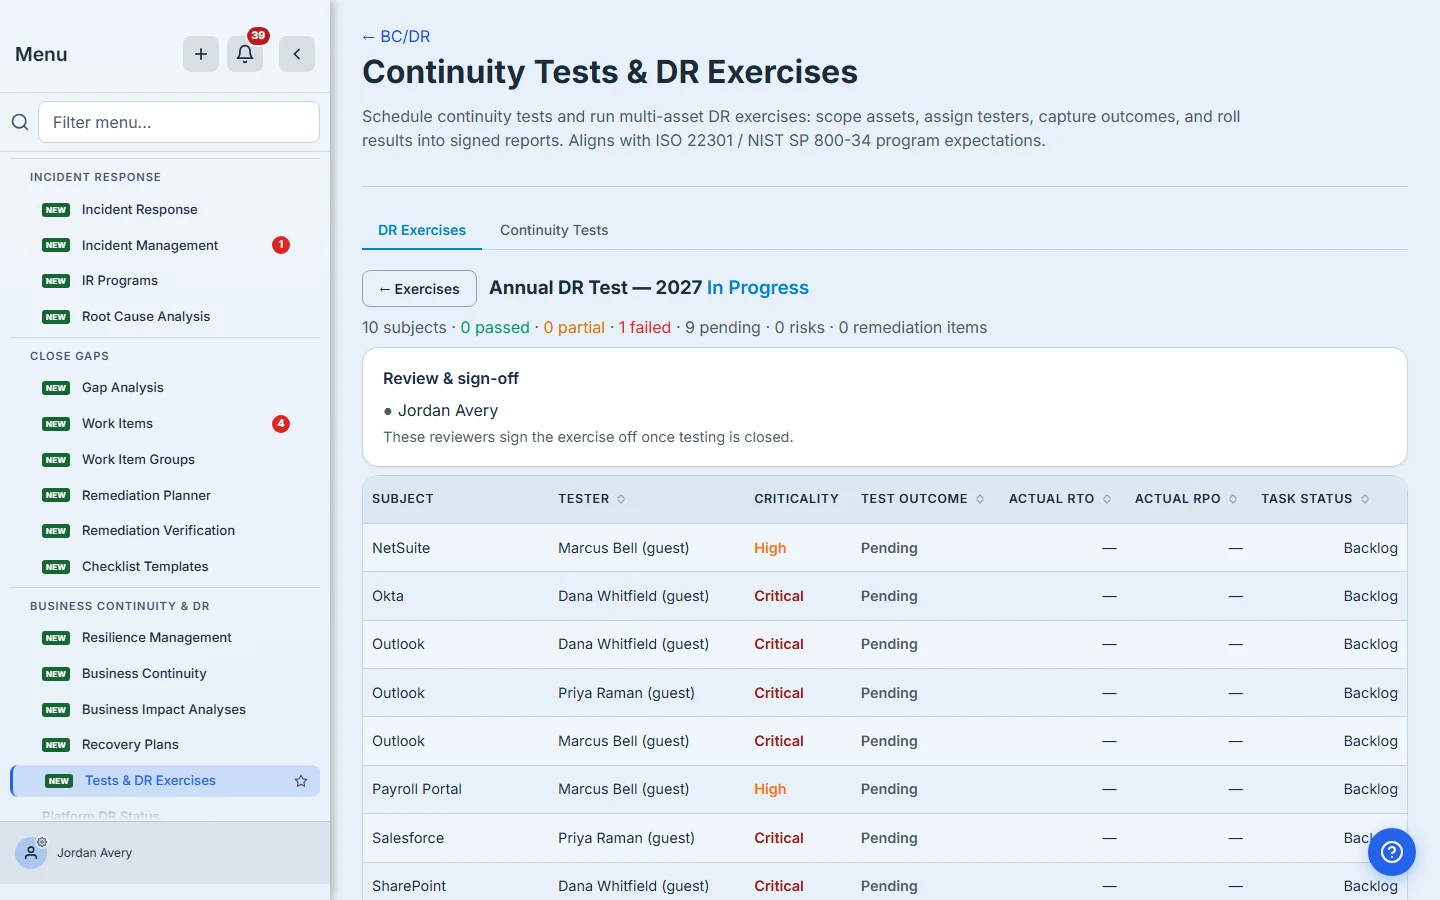
The tester kind is the decision that matters most, because the three are genuinely different:
| Kind | Gets | Consumes a seat? | Can retrieve their attestation later? |
|---|---|---|---|
| Member | The task in their work queue | No | Yes |
| Guest | A real account scoped to their tasks | Yes, a guest seat | Yes |
| One-time link | A tokenised link, no account | No | No |
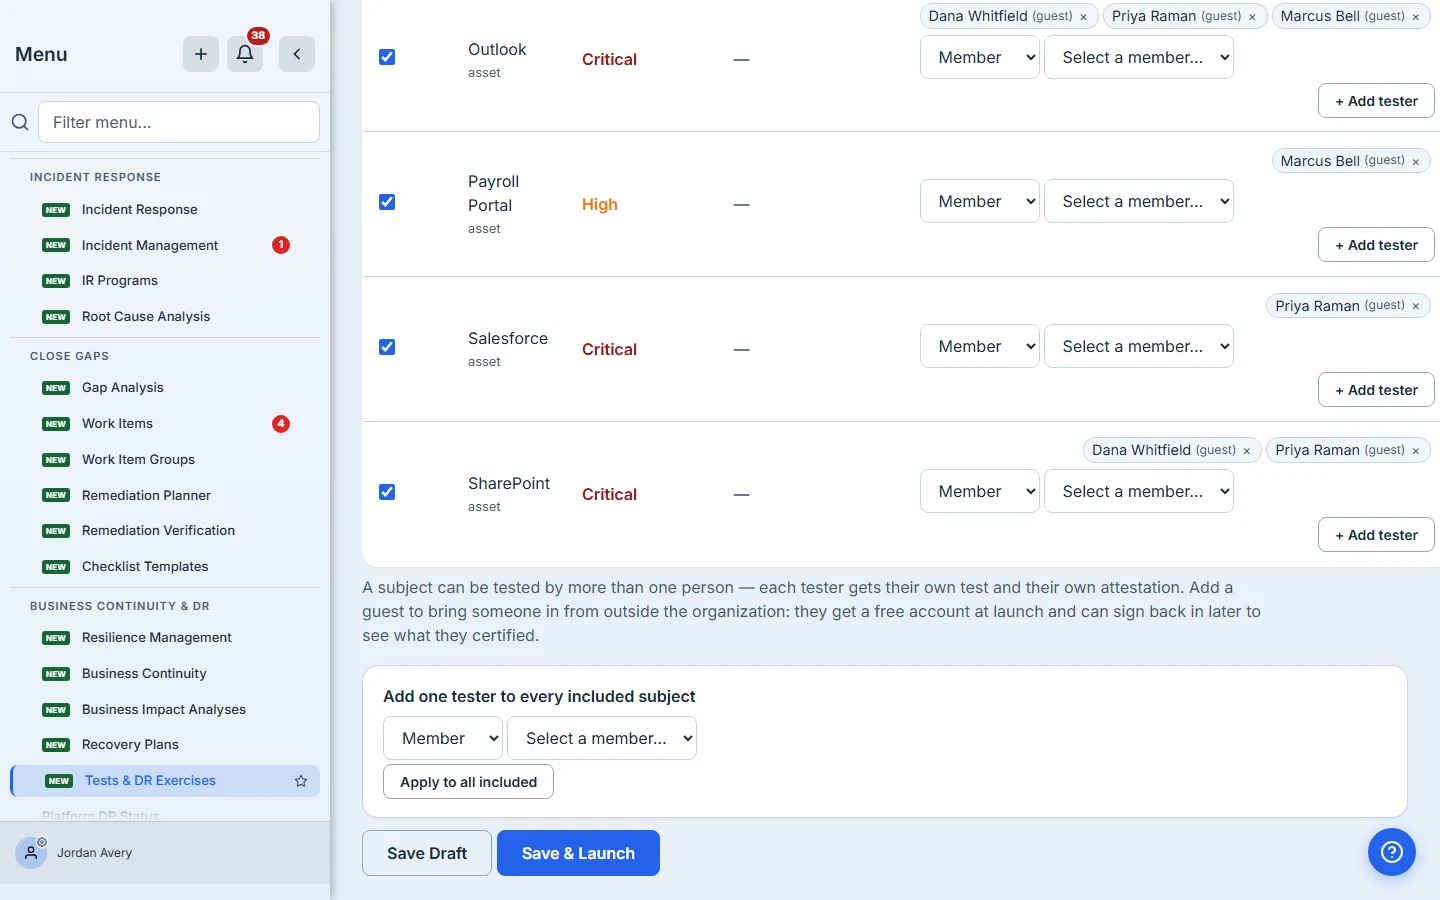
One thing to tell your external testers before launch: if your organisation requires multi-factor authentication, guests are covered by that same org-level setting. A guest signing in for the first time is asked to enrol before they reach their tasks, exactly as any other user would be. It is a one-time setup and the device can be trusted for a month afterwards — but it is a surprise if nobody warned them, and it lands at the moment they were expecting a two-minute form. The tester’s guide walks them through it.
Talarity suggests each subject’s custodian by default — but note that a custodian without a Talarity login is suggested as a one-time link, which means no custodian sign-off and no retrievable attestation for that person. If either matters, change them to a guest.
For a large scope, add one tester to every included subject in a single action rather than row by row.
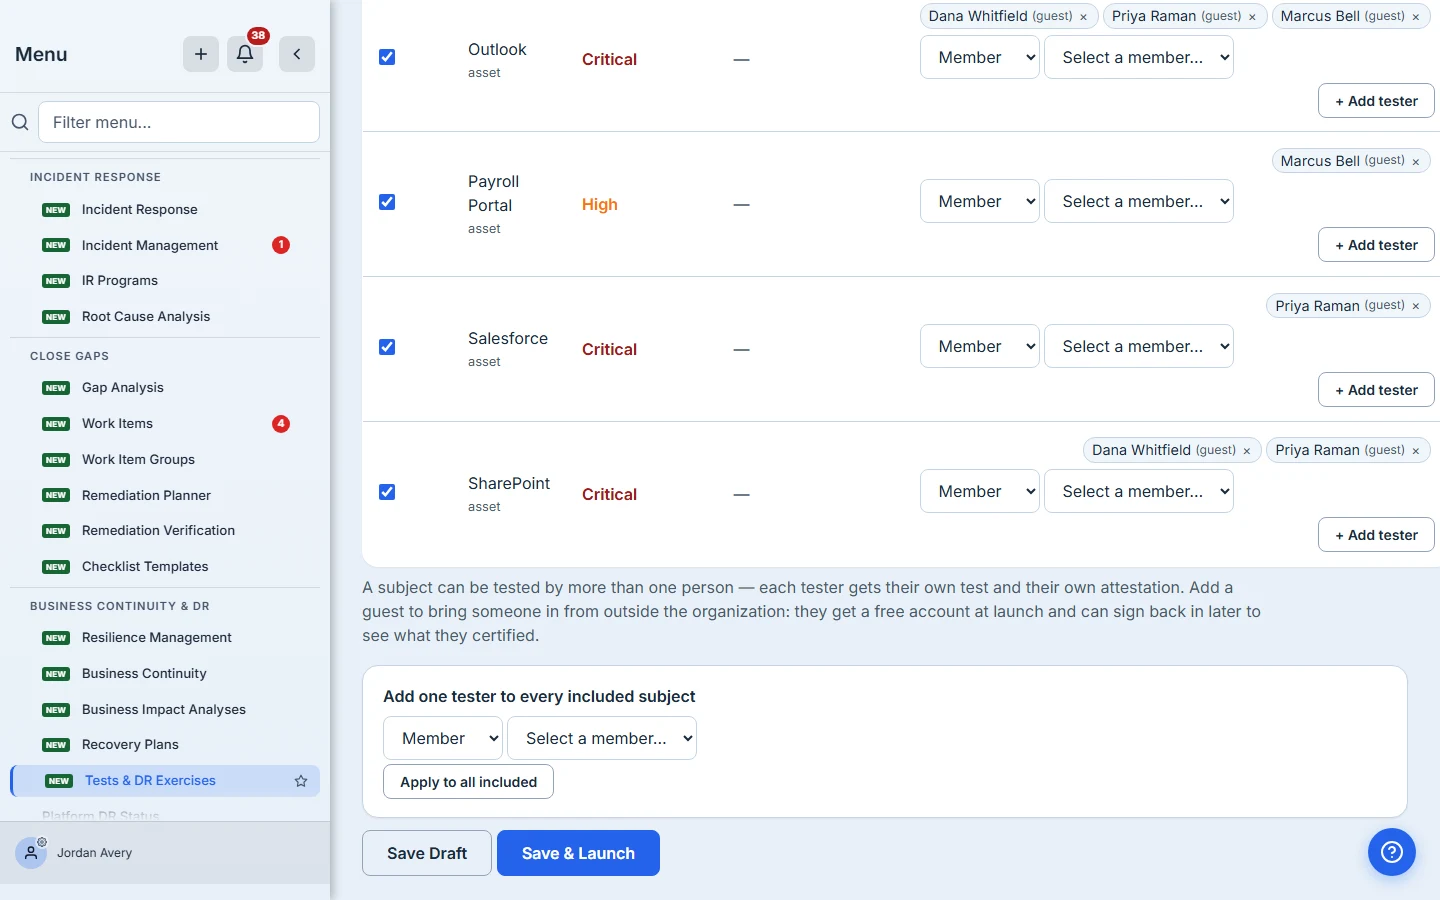
Save is blocked while any included subject has no tester, and it names which ones — so a half-assigned grid cannot be launched by accident.
Step 4 — Save the draft, and stop
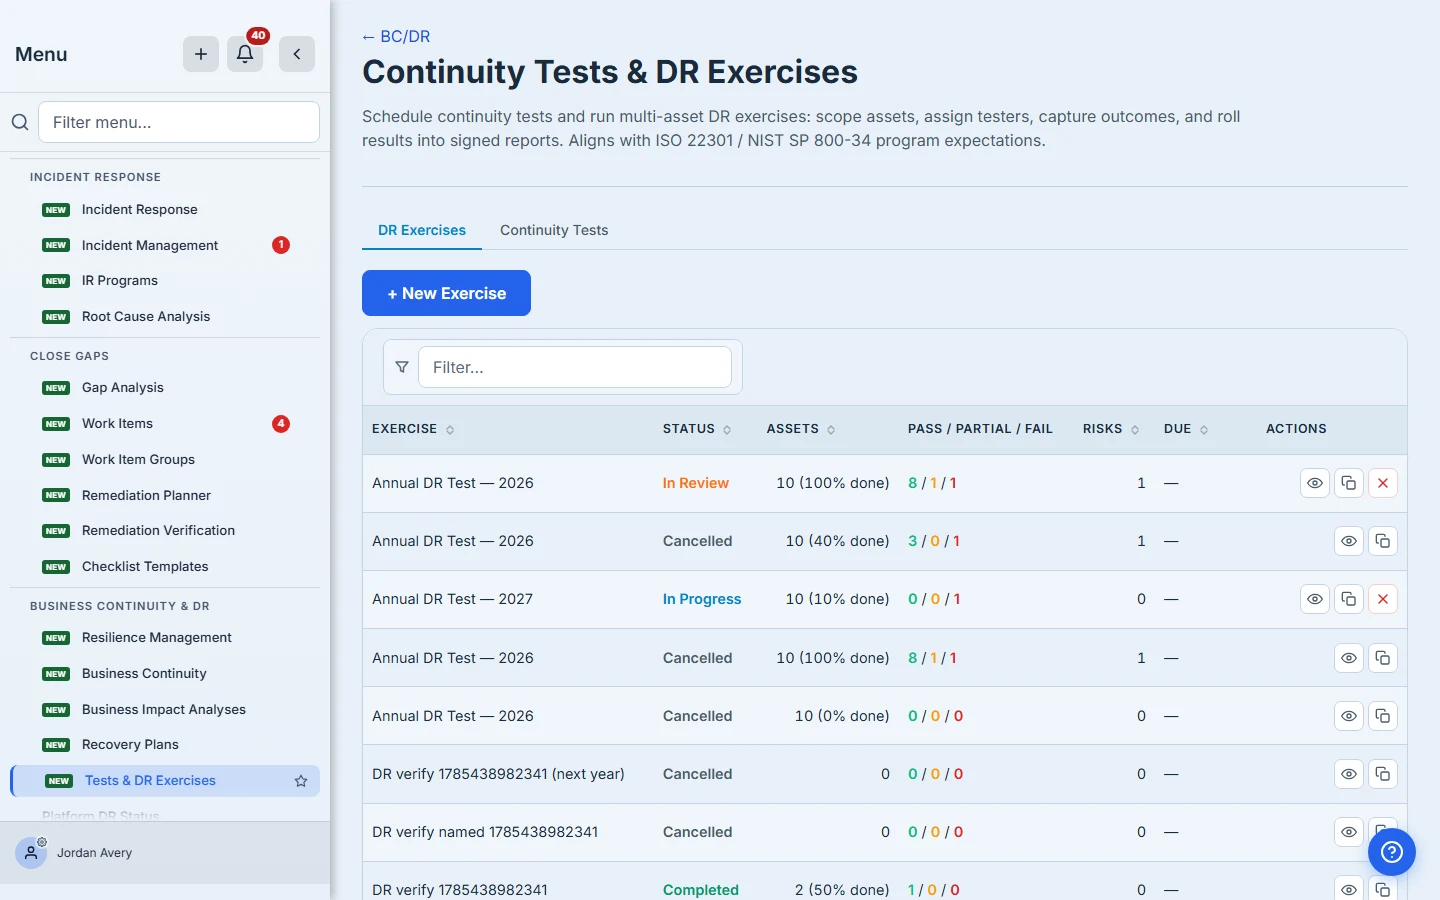
Save Draft leaves the exercise in Planning: no work items, no accounts, no email, no tokens. Re-open it any time and your scope and assignments are still there.
Coming back to review or change it
A staged draft is not frozen. A draft has one door — Edit scope, testers and settings on its row — which opens the settings and summarises who is testing what, with a link straight through to the assignment grid — add or remove a tester, drop an application, re-scope, and save again. The Edit screen also summarises who is testing what, and links straight through to that grid, so you can check the assignment list before you commit to a date without hunting for it.
This matters more than it sounds. An annual DR test is usually staged well before it runs, and the people in it change in between — someone leaves, someone takes over an application, an app gets retired. Being able to review the whole assignment list on the screen where you set the date is the difference between launching with confidence and launching with a guess.
One thing to know about editing a draft: changing the scope clears the assignments, because the subject list they refer to has changed. Set the scope first, assign second.
Step 5 — Launch, when you’re ready
Save & Launch is the moment everything happens at once:
- A work item per (subject, tester).
- A guest account for each guest tester who doesn’t have one — each consuming a guest seat.
- One email per person, listing all of that person’s tests rather than one message per test.
- A one-time link for each external tester, shown to you once on screen. Copy them then — they’re one-time-read and dismissing the dialog loses them.
Set the due date before you launch. Reminders are driven by it, so an exercise launched without one sends none — which also catches people cloning last year’s exercise, since a clone deliberately starts with its dates blank.
What you walk away with
- A draft you can build early and start later — silence is the default, launch is the single deliberate act.
- Scope by tier, place, vendor, or name, resolved into an explicit list you can trim.
- Multiple testers per subject, each of a kind you chose knowingly.
- Settings that decide what the exercise does — which failures become risks, who signs off, whether evidence is mandatory.
- A launch that tells each person once what they need to do.
Build one for a handful of critical applications and leave it in Planning. You’ll have a better idea of what to scope the real one to once you’ve seen the grid fill in.